Finding the right camera backpack for large format 4x5 photography

When I stepped into large format photography, I never envisioned my biggest gear-related challenge to be finding the right camera backpack for my needs. I spent well over a year looking at different bags from the likes of newer brands, such as Shimoda, Atlas, Peak Design, and Wandrd, and the established players like Lowepro, Thinktank, and F-Stop. I also considered non-camera bags, like a Goruck or Osprey bag with an insert. I ended up going with the Shimoda Action x50 and a Medium DSLR core unit.
Here’s how I arrived there, and how you can potentially save a year of research. Also: no affiliate links here. Just my raw thoughts and research to help you along your journey.
Considerations for a large format camera backpack
Why so long? Well, it turns out, camera bags that work for large format 4x5 aren’t exactly marketed as such these days. Part of it was also my requirements and what I was looking for—and not having a camera store within four hours of me to try things out.
What I sought to carry was my Intrepid 4x5” camera, some film holders, a lens or two, and the incidentals (light meter, loupe, dark cloth), along with my Mamiya 6, Leica M6, and some film. I was using a hiking bag with a cheap camera insert already and wanted to get away from that (more on that later). I needed the backpack to provide accessibility for the cameras, be comfortable over long hikes, and be durable enough to stand up to outdoor use. I also wanted flexibility to accommodate the occasional overnight backpacking trip.

The ideal backpack would fit two use cases:
Roadtrip travel and day hikes. In this situation, I’d need to carry all three cameras and film, along with things like a jacket, food, water, and other hiking essentials. For the roadside stuff (viewpoints, buildings, new construction, etc.) that I’d photograph along the way, I’d want the cameras to remain quickly accessible.
Overnight backpacking trips. In this case, it would depend on the season and destination. If I’m heading into the Cascade mountains, I’d need to carry a full tent, insulated sleeping bag, and other overnight gear. Since this would be an occasional use case, I’d be willing to carry fewer cameras and carry some of the gear externally if needed (strapped to the bag’s outside), but it better be a comfortable bag because all that weight will add up.
It sounded pretty simple. I knew from experience that I’d need something in the 50L or 60L range, as the Peak Design 30L wouldn’t even hold just my large format setup, no matter how hard I tried to reconfigure it.
As I evaluated different bags and their dimensions, I quickly found that a bag with a camera insert system would work best. This meant I could buy a couple different inserts to swap out, depending on use case. A smaller insert for just the medium format camera would mean I could take it on an overnight trip, while a larger insert that carried all 3 meant that I could do well for road trip travel and day hikes.
The stalling point
The stalling point was when I dug into the weeds with insert dimensions to figure out which size could accommodate my large format camera. With so many bag companies, and so many inserts from each, it quickly became overwhelming. One of my main goals was to find the smallest insert that could the three camera formats. This would leave more room in the backpack for other hiking-related items, and reduce the risk of carrying too much camera gear that would go unused.
I found that if I could load my Intrepid 4x5 camera into an insert top-down (like you’re putting toast in a toaster), versus laid flat, it would tremendously cut down on the space that it takes up. It would also help secure the camera better. If an insert is 6” deep, but the large format camera laid flat is only 4”, the camera could pivot and rock back-and-forth in that 2-inch gap unless you stuffed that void with a dark cloth. While that could work, it would still mean I’d need to get a bigger insert size.
So I measured the dimensions of my Intrepid, and found it to be 7.5” long x 7.75” wide x 4” deep (including the tripod plate that’s left attached).
But again, the goal was to load it top-down, which would mean that the depth of the camera became 7.5” — not 4” anymore. Successfully doing do would reduce the area that the camera took up by almost half, meaning I could fit everything in a medium insert versus a large insert, and offer more protection.
The problem was finding an insert that could accommodate a 7.5” inch camera depth while ticking all my boxes…
4x5 cameras are normally loaded flat-down in camera bags, but doing so means that it takes up quite a bit more volume.
If we’re able to load the large format camera top-down into a camera bag, we could substantially save on space—meaning smaller camera bag and potentially more protection.
Assessing different camera backpack brands for medium format and 4x5 film compatibility
I considered a ton of different brands in my research, but it is important to note that if you only have a 4x5 large format camera, or comfort on long hikes aren’t as important to you, or you are fine with flat-loading the large format camera and using a larger insert, then any of these bags will work. You can stop here and just check out these brands for your own research. Again, my use case is a little more complex: it calls for comfortable long hikes and road trips with all the essentials and extensibility as an overnight backpack. In both situations, it would also need to stand up to inclement weather like snow and rain.
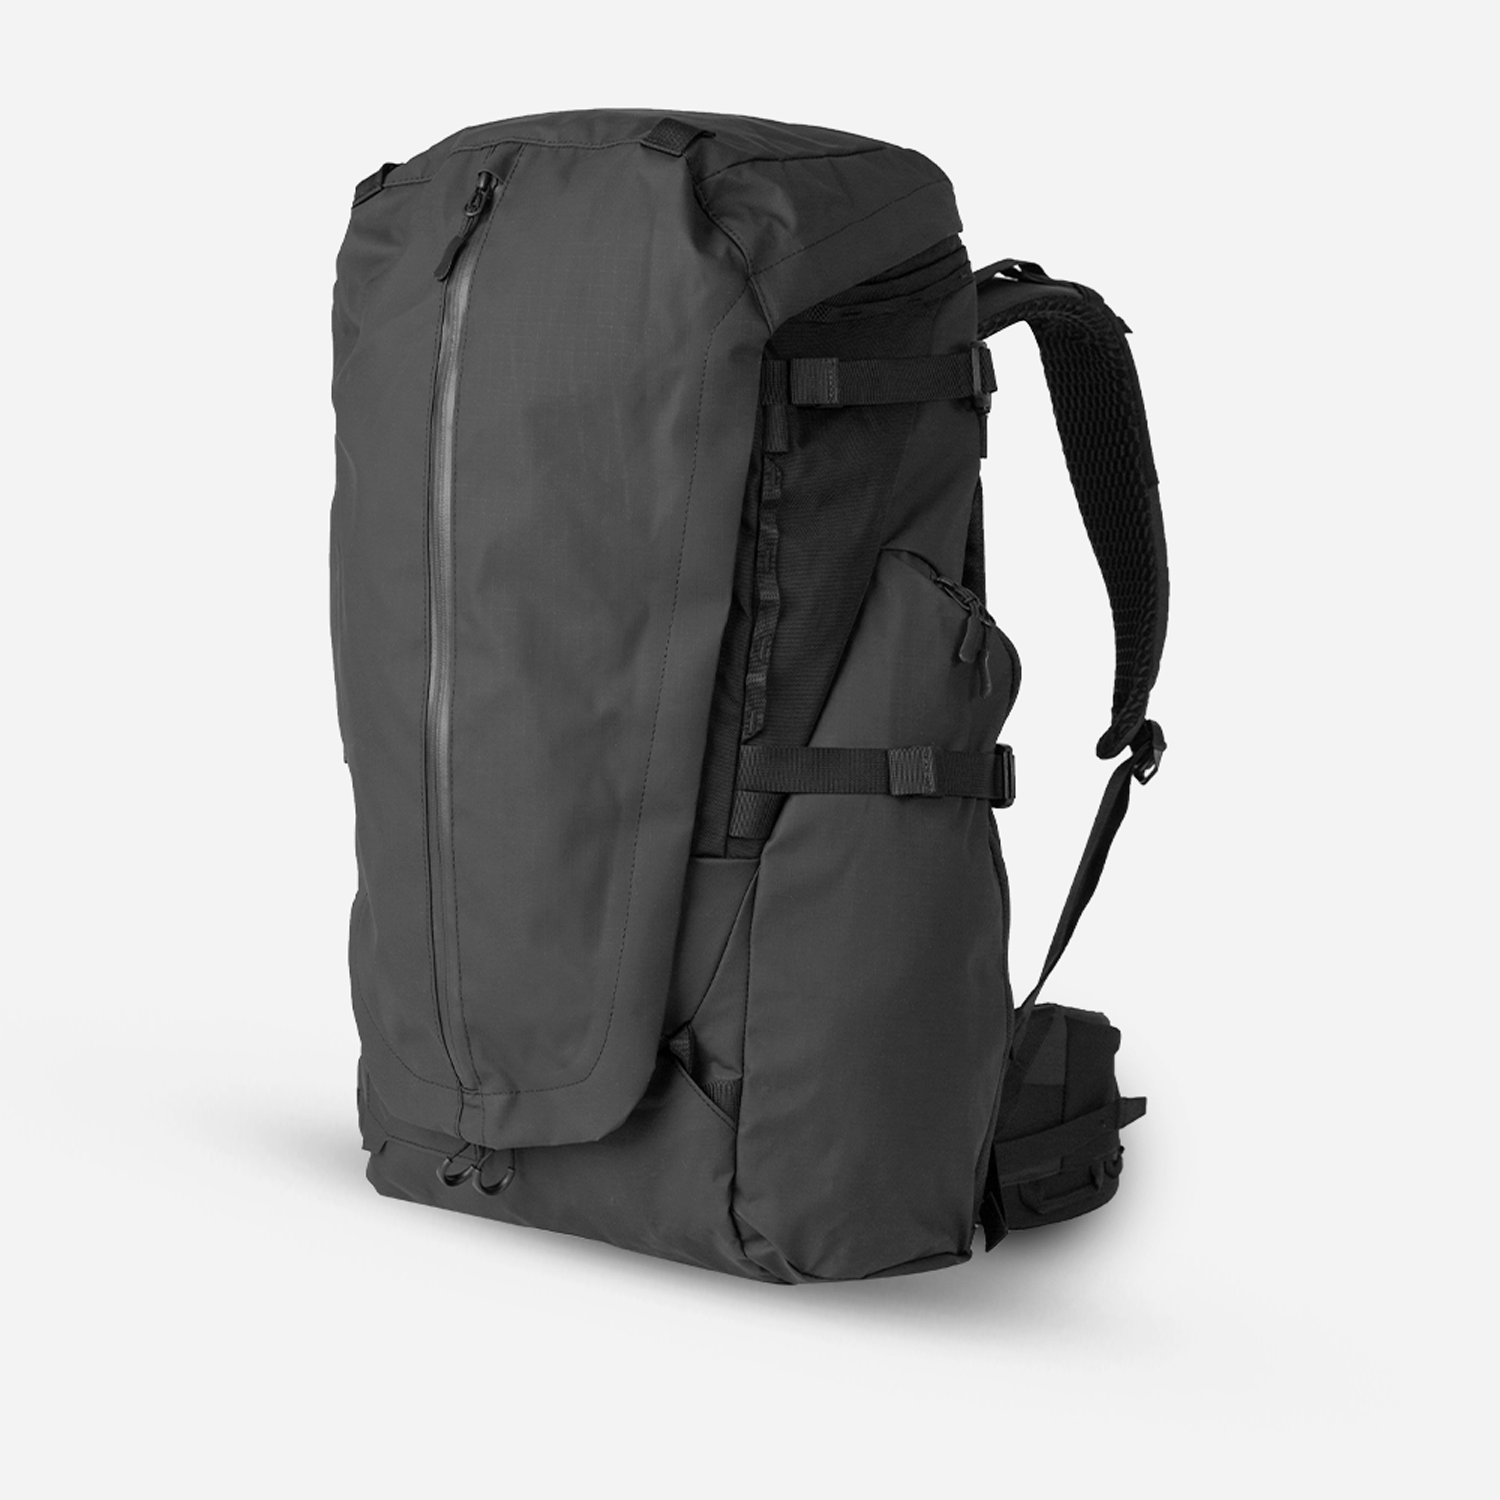
Shimoda Action X50 and Medium DSLR Core unit. The backpack is listed as 8.1” deep, and the core unit is 6.75” deep.
Shimoda
Shimoda was one of the first companies I looked at. Their products and marketing are geared specifically towards outdoor enthusiasts who want something that can do both photography and outdoor things well. They’re known for their comfort, build quality, and for considering every tiny detail in their bags’ design. The design of the straps was something I was definitely into. But I became overwhelmed with their bag options and insert options… and their price. I think if these bags weren’t going to push you well over $400, the decision wouldn’t have been as drawn out. But when a bag requires that kind of investment, I better be damn sure it’s the right decision.
I found that their Medium DSLR core unit was about the right length and width as I’d want for an insert and backpack combination (50-liter), but only came in at 6.75” deep, potentially making the Intrepid over a half inch too long. Their Large DV unit did hit the mark at 7.9” deep, but it could only fit in their largest Action X70 (70 liter) bag, and that just seemed like too large of a bag for my needs.
Wandrd Fernweh. The bag is claimed 9.75” deep, but their deepest insert is only 6.25” deep.
Wandrd
Wandrd caters to a similar market demographic—and price point—as Shimoda. Their backpacks similarly look fantastic, with a hiking-inspired design and modern camera insert system. I went back and forth with the two for quite some time, specifically their Fernweh backpack, as that one is geared more towards hikers.
The problem was, their Pro Deep insert was their deepest insert, but only came in at 6.25” deep, leaving me needing an inch of extra space. All of their other inserts only offered a depth of 5”. This was strange to me, given that the backpack itself touted a depth of 9.75”. Looking at it, it’s probably the combination of padding around the insert, and the large front pocket of the backpack itself. The other consideration when pitting the Fernweh against the Shimoda was that the Shimoda has a roll-top that can accommodate a sizable increase in volume, where the Fernweh lacked that sort of extensibility. For the overnight use case or long days in the mountains, the Shimoda would be superior.
Side note: If you’re not interested in long hikes and multiple camera formats, check out Matt Day, who carried a large format 4x5 in the 21L PRVKE backpack (but that’s about all that you can fit).

Atlas Adventure with origami dividers.
Atlas
The Atlas Adventure pack (the bigger version of the Atlas Athlete backpack) came up in my searches a few times. Geared similarly to outdoorsy types, this bag brought a unique system that used built-in origami instead of an insert. You can flip up or flip down the dividers to make more or less room for photo gear.
However, it had the same issue for me, in that it was only 6.25” deep internally, meaning that the large format camera would have to be loaded flat. It’s a very cool idea, but in this case you are severely limited by it’s internal size, since it trades off camera space for internal carry space and comes in at 50L without any extensibility like a roll-top. Further restricting usable space is the fact that the camera compartment is very rounded, where camera units are square. Fitting a square large format camera in there flat-down would mean that even more space is potentially wasted.
Peak Design
When Peak Design released their first ever camera backpack in 2017 via Kickstarter, I jumped on the hype train. I still have that backpack and use it for light duty camera work (digital, or roll-film cameras) and pre-Covid commuting (lunch and laptop). But that bag is absolutely the most uncomfortable thing I’ve ever worn. The straps are set very wide, thin, and uncomfortable even under fairly light loads. I’ve also grown tired of having to worry about the contents spilling out the side pockets anytime I open them up, as things are not very snug in there.
While I already knew that bag wasn’t going to work, I did take a look at their newer, larger versions that do have camera inserts. However, I noticed the straps are still the same and that those backpacks are trying to do way too much, like be a duffel bag. Great travel bags, I’m sure, but not fit for my use. Their largest insert is also only 6” deep.
F-Stop
Stepping away from the glitz and glam of these newer companies with massive Instagram marketing budgets is F-Stop. F-stop is like Shimoda’s dad, in that they pioneered the hiking-focused camera insert system category. (Which makes sense, as the founder of Shimoda, was a camera bag designer at F-Stop beforehand). F-stop offers an unbelievable assortment of bags and inserts, and the 50L Tilopa looked like a good choice when comparing against the Shimoda Action 50L and Wandrd Fernweh.
However, none of the ICU sizes (except for the massive Cinema one) are deep enough. The Medium and Large ones that are best paired with the Tilopa are only 6.5” deep. The Cine insert is also way too big for my needs and weighs 5 pounds on its own. It required being pared with the 80L backpack that also weighed 5lbs. That’s a lot of weight without cameras, and those backpack straps do not look comfortable or padded enough for all that eventual weight. It would have been too much camera carrying capacity in too big of a backpack. Plus, that setup would’ve ran $800+.
F.64
If F-stop is the dad, then F.64 is the grandad of the large format camera bag world. This traditional-style backpack offers an internal cavity with movable dividers, much like a normal camera bag would. It also comes in at an appealing $130 and has two dedicated large format film holders carried externally. This backpack was almost a “buy now and figure out a better bag later” decision, until I remembered that there’s no sense in buying something twice—it’s wasteful of resources and money. Besides, the bag missed the mark for me in that it was not deep enough and not as functional for mixed use at only 32L of volume, even though the bag looks massive. Reviews reported that it wasn’t very comfortable, either. Again, I’m looking for all-day comfort, not just 100-yards from the car.

Deuter 70L backpacking bag stuffed with winter gear and a camera insert.
The other bags
I lurked on prehistoric large format photography forum posts to see what sorts of bags people were using in the past, thinking maybe there were a few novel ideas there. What I generally found was that folks used traditional Lowepro camera backpacks, such as the original Super Trekker, but many are no longer made. Their counterparts of today, and the older ones you might be able to find on eBay, pretty much fall into the same camp as F.64, in that they just won’t hold up to the demands of comfort and multi-use functionality. I also found that there used to be a number of small “cottage” backpack manufacturers that did make some cool hiking and large format focused backpacks, but they are long-gone and searching around eBay was futile.

The straps and padding on the Wandrd Fernweh look on par with any hiking-specific backpack.
What about a hiking bag and a camera insert?
I saw this recommended over and over again - “Get a backpacking bag and throw a camera insert in there - nothing will be more comfortable.” The thing is, I was already doing that and I wanted to stop doing that. I didn’t like this way of working because it didn’t provide quick access during roadtrips and on hikes. Everything had to be stuffed in from the top and pulled out to get to the cameras. In the snow, ice, and mud, this meant being extra careful that things didn’t get dirty or wet.
To improve accessibility, I also tried wrapping up the roll-film cameras in a sweater and loading them at the top of the bag. I also grew to hate it. It doesn’t offer consistent protection, and fiddling around with unwrapping it is a hassle.
They do make “panel-loading” hiking backpacks that open via a front or back panel door (like many camera bags), but the problem with that is that there is no separation between the top half of the bag and the bottom half where the insert would go. That means your cliff bars, smelly shirts, and other hiking/overnight gear are going to get mixed up and in the way of your camera gear. The camera bags do offer separation between them, so whatever you load on top in the “bucket” is not going to fall through to your camera insert.
Finally, I also think that the adage is dated. People are correct in that the Lowepros, Thinktanks, and camera bags of the past were (and remain) miserable to hike with, but the growth of the hiking-focused brands from the last few years have proven that camera bags can be comfortable. The straps on the Fernweh, for example, look exactly like something that came from an Osprey. And from my own experience, the Shimoda is just as comfortable (if not more comfortable) than hiking bags. I believe that, at this point in time, we can get the best of both worlds from these new companies.
Decision point
More like indecision point. I’d found that all the bags were just too shallow, and that I’d probably have to keep the 4x5 camera laid flat and upgrade to an overall larger unit to fit all the other gear. This was precisely what I’d hoped to avoid, as a large core unit in most 50L backpacks would take up all the space, unless unless stepping up to the massive 70L or 80L versions with their massive Cinema inserts. But doing so would mean a price point above $800, for a bag that carried way too much “camera” and was just overall too large and heavy. All this research continued to lead me nowhere.
That was, until I found an old post on reddit, where someone shared an image of their Shimoda Explore 40, with a Medium DSLR insert, and a folding Toyo large format camera—loaded top-down, not flat. I Googled the dimensions of that camera, and sure enough, it was about 7.25”. This didn’t make a ton of sense to me, being that the dimensions of the camera were larger than the insert (6.75” internal depth), until I considered that the backpack cavity itself might offer some wiggle room, potentially offering up more space than the insert allowed.
Part of the challenge was that manufacturers don’t list the depth of their ICU cavity, rather just the overall depth of the bag which naturally includes padding, pockets, etc. But having seen this image, I figured it was worth a try. Clearly it had worked for that person. By happenstance, I found a used Shimoda Action X50 and Medium DSLR V2 insert nearby and purchased it used, figuring I could resell if it didn’t work out.
Successfully loading out the Shimoda Action X50 with the Intrepid large format 4x5
It worked. Well, only after I spent a half a day configuring and re-configuring the insert until something worked. The biggest finding was that yes, the Intrepid 4x5 camera does stick out above the insert by about half to three-quarters of an inch, but the backpack’s ICU cavity does, in fact, accommodate that extra room. There is over an inch of extra backpack and zipper material on both sides of the camera insert, enabling my long-sought top-down loading.
But it’s not quite perfect. The reality is that the Shimoda inserts have an aluminum frame that brings structure to the backpack. It is the ICU that actually gives the backpack its structural depth. Without the insert, the backpack can simply collapse flat like any old backpack. What this means is that because the large format camera sticks out past the frame of the insert, the 4x5 actually becomes a structural element itself.
This is acceptable because the Intrepid 4x5 camera has a metal focusing rod and a metal baseplate that spans both the length and width of the camera.
The Intrepid 4x5 has an all-metal base that spans the length and width of the camera, meaning that it can stand up to the task of slightly expanding the Shimoda backpack’s volume.
So when it is top loaded, the metal elements can facilitate becoming the backpack’s “new” depth structure. And since the backpack itself has the extra fabric offering that wiggle-room above the insert, everything can still close up nicely and the camera doesn’t protrude anywhere.
Similarly, the reason it worked for the person on Reddit was because his camera folded up into a hardshell case. You would need to consider your own camera’s build to see if it can offer that structure. If it’s something all-wooden, no metal at all, it may damage the camera. But I’ve looked at lightweight 4x5 cameras like the Chamonix, Toyos, Wistas, and others, and most of them have a similar metal base that can support the structure when folded.
The 4x5 camera in a Shimoda Medium DSLR insert.
Note three things. 1: how the camera protrudes above the insert (left side) and almost sits flush with the zipper. 2: The zipper and backpack material are being supported only by the frame of the camera insert. 3. There is no extra material visible from the zipper or bag.
The extra material in question. The Shimoda Action X50 has more room than the insert provides. When pulled fairly gently, both the backpack material and the zipper extend by quite a fair amount. When closed up, the camera itself forces that extra little bit of expansion, and is safe in doing so since it is the metal baseplate providing all the support.
Summary: Tips for finding the right large format camera bag for you
To sum up this saga, if you’re looking at backpacks for 4x5 cameras, and have a similar desire to load it top-down, start by measuring the “new” depth of your camera. If it ends up being less than 7.25”, you are in good shape to top load with the any of the Shimoda “DSLR” core units (the “Mirrorless” ones are too shallow). Then pick whichever bag is compatible with it and fits your size/functional needs.
If it comes in even less, as low as 6.75”, then you are in even better shape. In that circumstance, you might find that other brands like F-Stop or Wandrd can accommodate a half-inch of wiggle room (their comparative inserts come in at 6.25” internal depth). I opted not to test them out since my gut feeling told me that asking for a full inch above the insert would be too much, and as I mentioned earlier, I don’t have a camera store anywhere near me to test things out, so I can’t tell you if other brands have that sort of flexibility.
If you’re looking for a larger backpack in the 70L to 80L range, then check out the DV and Cinema core units from Shimoda and F-Stop, respectively. They are all deep enough to fit the Intrepid 4x5. Personally, if I were to start going on multi-day hiking trips where I wanted to carry my large format, I would absolutely opt for the Action X70 and Large DV Core unit.
The ideal scenario is that you can get to a camera store to test out the fit of different units. But don’t focus so much on the backpack itself, focus on the insert. If the large format camera sits flush with the insert, you’re probably in good shape to grab that size and whichever bag is compatible. The inserts from manufacturers usually fit in more than one of their bags, so if they don’t have that bag in stock, ordering online is a safe bet when you know what size insert you need.
Also make sure that the insert can house all your gear. The goal should be to carry all your gear in the smallest-sized insert possible. This maximizes space for carrying other items, like water, rain jackets, food, and the rest of the ten essentials. For example, a Shimoda Large DSLR core unit would fit in the Action X50, but it would take up most of the backpack’s internal room. Having such a large core unit would also likely cause you to load it out with more gear than you’d reasonably use, making it excessively heavy.
Finally, let me know if you’re interested in how I arrived at this configuration and if you want any more details on how I use the Shimoda backpack for large format photography specifically.
Success. Fitting in the Intrepid large format 4x5 camera, a Mamiya 6 medium format 6x6 rangefinder, and the Leica M6 in a Shimoda Medium DSLR core (V2) unit. The light meter, some film, and a large format lens also fit in, with a bit of room for extras. Above the core unit is an accessory pouch that can hold up to six 4x5 film holders and a dark cloth.